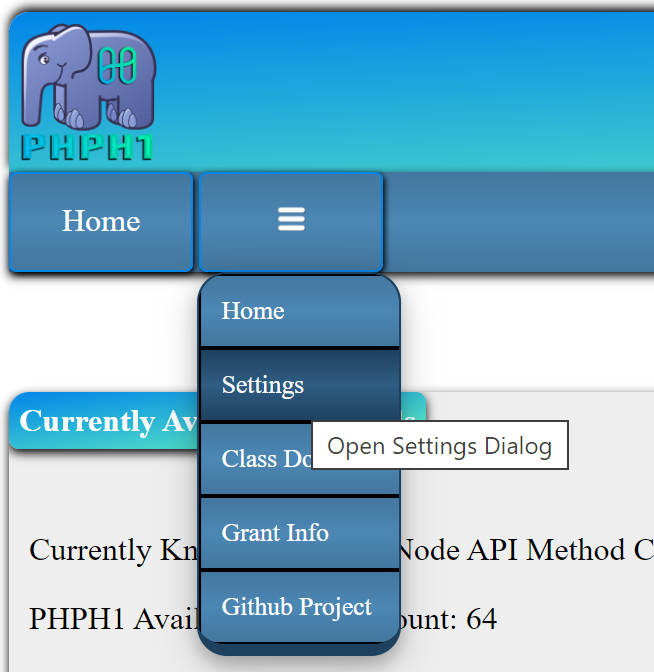
- Home
-

-
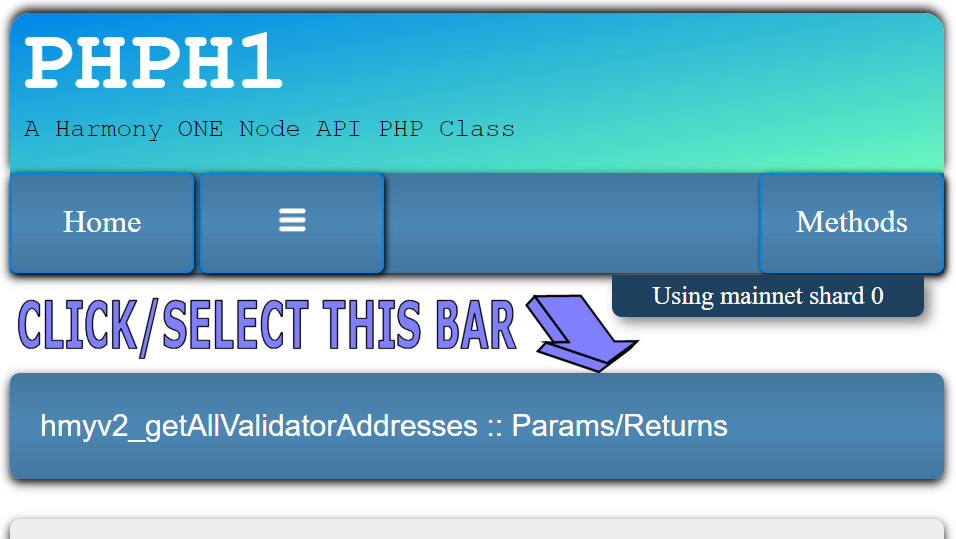
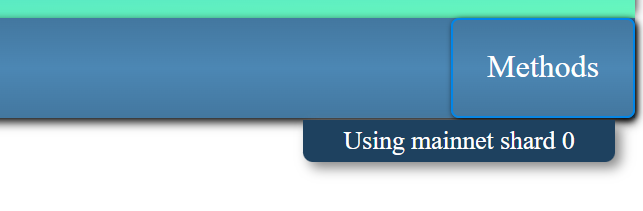
Methods
hmyv2_blockNumber hmyv2_call hmyv2_epochLastBlock hmyv2_estimateGas hmyv2_gasPrice hmyv2_getAllValidatorAddresses hmyv2_getAllValidatorInformation hmyv2_getAllValidatorInformationByBlockNumber hmyv2_getBalance hmyv2_getBalanceByBlockNumber hmyv2_getBlockByHash hmyv2_getBlockByNumber hmyv2_getBlockSignerKeys hmyv2_getBlockSigners hmyv2_getBlockTransactionCountByHash hmyv2_getBlockTransactionCountByNumber hmyv2_getBlocks hmyv2_getCXReceiptByHash hmyv2_getCirculatingSupply hmyv2_getCode hmyv2_getCurrentBadBlocks hmyv2_getCurrentStakingErrorSink hmyv2_getCurrentTransactionErrorSink hmyv2_getCurrentUtilityMetrics hmyv2_getDelegationsByDelegator hmyv2_getDelegationsByDelegatorByBlockNumber hmyv2_getDelegationsByValidator hmyv2_getElectedValidatorAddresses hmyv2_getEpoch hmyv2_getHeaderByNumber hmyv2_getLastCrossLinks hmyv2_getLatestChainHeaders hmyv2_getLeader hmyv2_getMedianRawStakeSnapshot hmyv2_getNodeMetadata hmyv2_getPendingCXReceipts hmyv2_getPoolStats hmyv2_getShardingStructure hmyv2_getStakingNetworkInfo hmyv2_getStakingTransactionByBlockHashAndIndex hmyv2_getStakingTransactionByBlockNumberAndIndex hmyv2_getStakingTransactionByHash hmyv2_getStakingTransactionsCount hmyv2_getStakingTransactionsHistory hmyv2_getStorageAt hmyv2_getSuperCommittees hmyv2_getTotalSupply hmyv2_getTransactionByBlockHashAndIndex hmyv2_getTransactionByBlockNumberAndIndex hmyv2_getTransactionByHash hmyv2_getTransactionReceipt hmyv2_getTransactionsCount hmyv2_getTransactionsHistory hmyv2_getValidatorInformation hmyv2_getValidatorKeys hmyv2_getValidators hmyv2_isBlockSigner hmyv2_latestHeader hmyv2_pendingStakingTransactions hmyv2_pendingTransactions hmyv2_protocolVersion hmyv2_resendCx hmyv2_sendRawStakingTransaction hmyv2_sendRawTransaction net_peercount
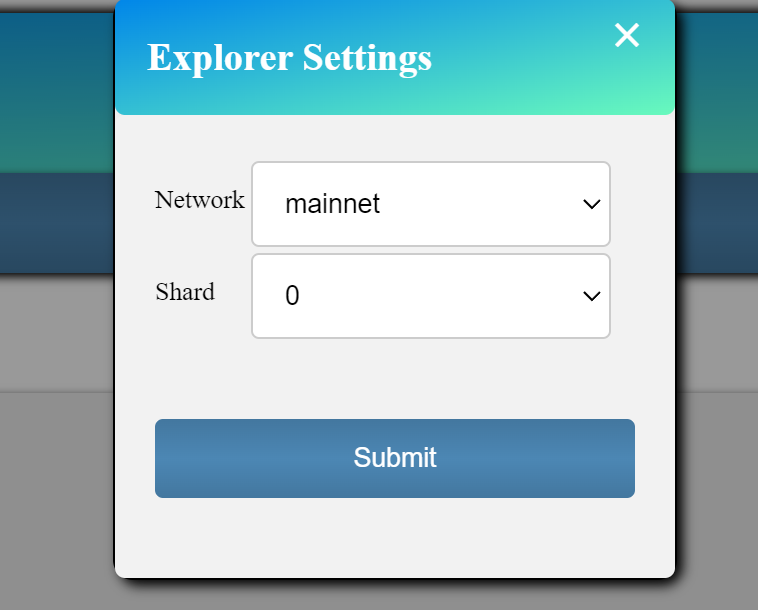
Using mainnet shard 0
×